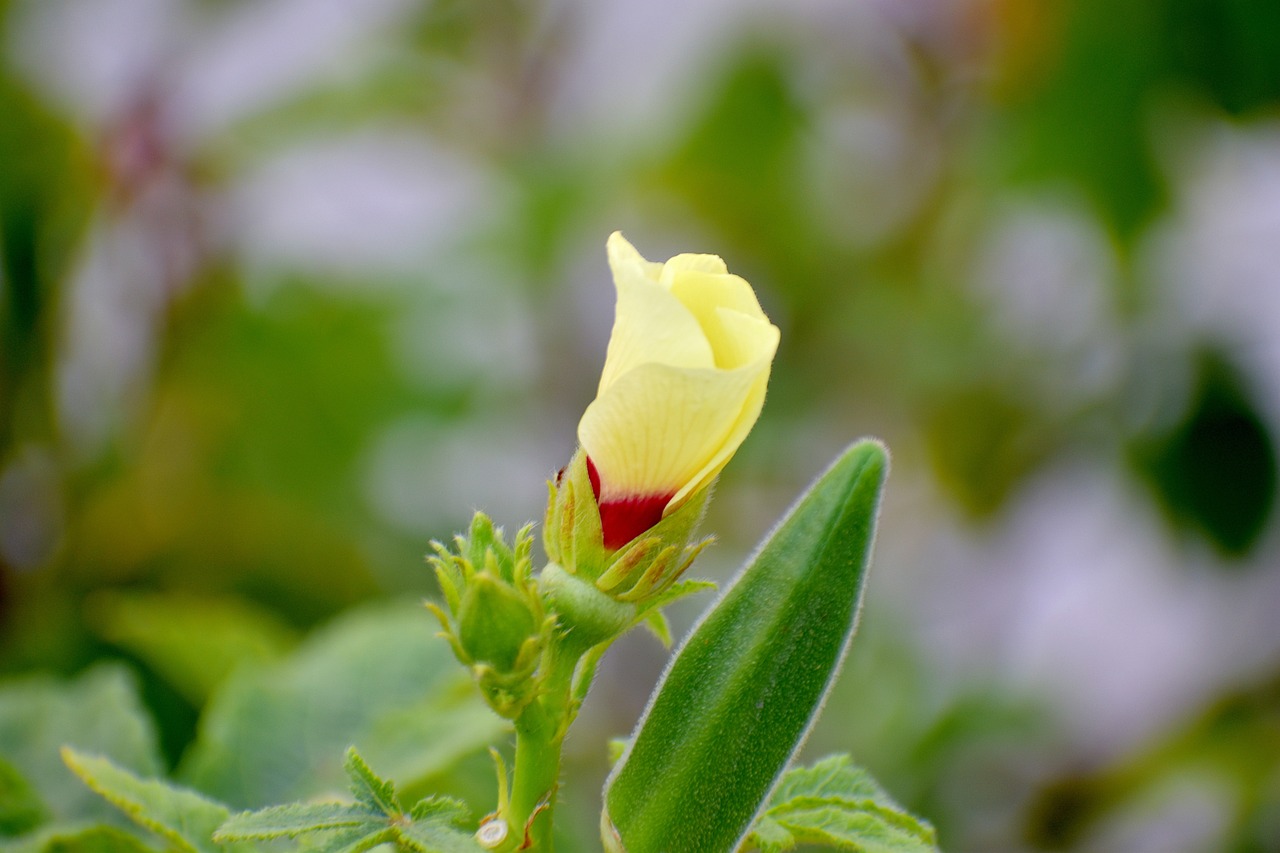
Okra, also known as lady’s fingers or gumbo, is a warm-season vegetable prized for its tender pods and versatility in cooking. Harvesting okra at the right time ensures the best flavor and texture, making it a delightful addition to any garden or plate. Here’s a comprehensive guide on how to harvest okra effectively.
How And When To Harvest Okra?
Timing and Readiness
Okra pods are ready to harvest when they are young and tender, typically about 2-4 inches in length. Timing is crucial, as pods left on the plant for too long can become tough and fibrous. To determine readiness, inspect the pods regularly once the plant starts producing. Look for firm, bright green pods with no signs of discoloration or damage.
Harvesting at the right time ensures optimal flavor and tenderness. Waiting too long can result in tough, fibrous pods that are less enjoyable to eat. By harvesting young, tender okra pods, you’ll experience the full flavor and texture that this versatile vegetable has to offer.
Tools and Equipment
When harvesting okra, it’s essential to have the right tools on hand. While you can harvest by hand, wearing gloves is advisable as okra plants can be prickly. Additionally, sharp garden shears or a knife will make the process easier and more efficient. Before harvesting, sanitize your tools to prevent the spread of disease and ensure clean cuts.
Using proper tools and equipment makes the harvesting process smoother and more efficient. Sharp garden shears or a knife allow for clean cuts, reducing the risk of damage to the plant. Additionally, wearing gloves protects your hands from the prickly foliage, ensuring a more comfortable harvesting experience.
Technique and Approach
Harvesting okra requires a gentle touch to avoid damaging the plant. When selecting pods for harvest, hold them near the tip and snap them off with a quick, upward motion. Alternatively, you can use garden shears or a knife to cut the pods from the plant, leaving a short stem attached. Be careful not to tug or pull on the pods, as this can damage the plant and affect future growth.
Using the right technique when harvesting okra ensures minimal damage to the plant and optimal pod quality. Gentle handling reduces stress on the plant and encourages continued production throughout the growing season. By snapping or cutting the pods cleanly from the plant, you’ll maintain its health and maximize your harvest.
Frequency and Consistency
Okra plants can produce pods continuously throughout the growing season, so it’s essential to harvest regularly. Check your plants every 2-3 days for ripe pods, as they can quickly reach maturity under ideal conditions. Harvesting frequently encourages the plant to produce more pods and prevents over-ripening, ensuring a steady supply of tender okra.
Harvesting okra frequently promotes plant health and productivity. Regularly removing ripe pods prevents them from becoming overgrown and tough, encouraging the plant to continue producing throughout the season. By maintaining a consistent harvesting schedule, you’ll enjoy a continuous harvest of fresh, tender okra all season long.
Storage and Preservation
While okra is best enjoyed fresh, you may need to store it for later use. After harvesting, place the pods in a perforated plastic bag and store them in the refrigerator. Proper storage helps maintain freshness and extends the shelf life of your okra. Use harvested okra within 2-3 days for the best flavor and texture.
Proper storage is essential for preserving the quality of harvested okra. Storing the pods in a perforated plastic bag allows for adequate airflow, preventing moisture buildup and prolonging freshness. Be sure to use harvested okra promptly to avoid spoilage and ensure optimal flavor and texture in your culinary creations.

