
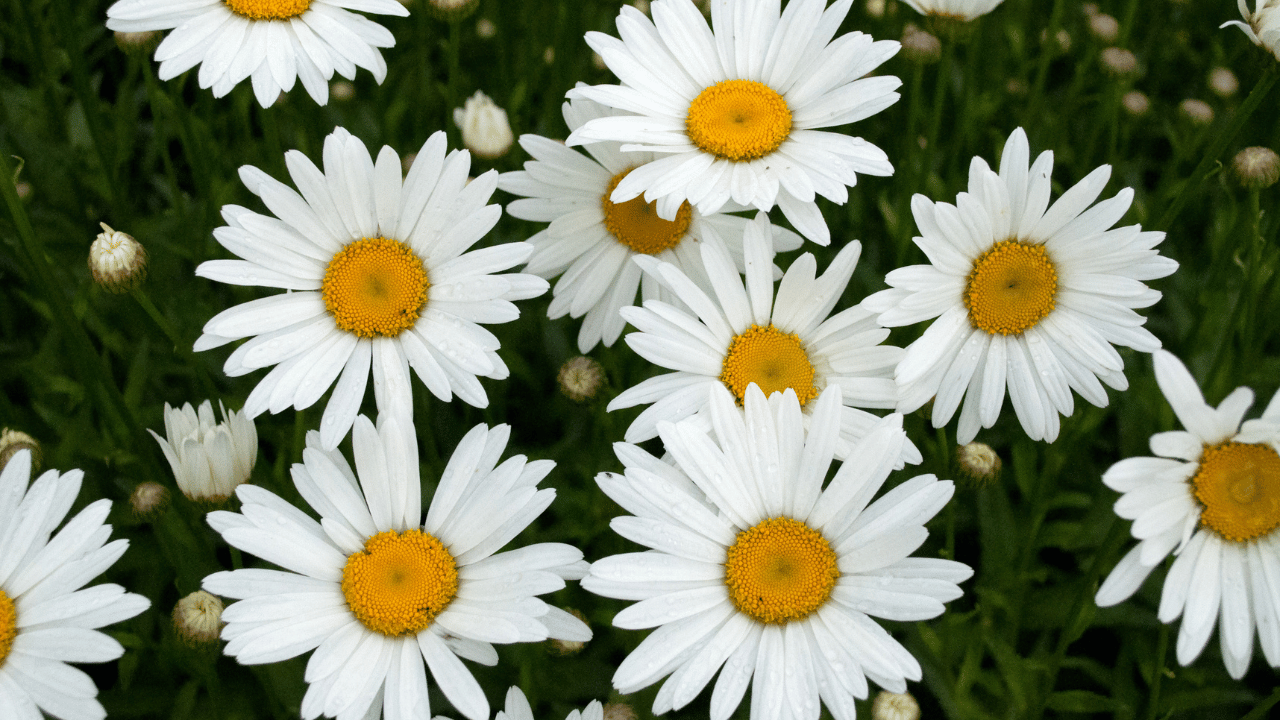
Shasta daisies (Leucanthemum × superbum) are classic perennials known for their bright, cheerful blooms and ability to thrive in various garden conditions. Though they are relatively low-maintenance, giving them some thoughtful care ensures long-lasting flowers and healthy plants. Here are ten expert tips to help you grow stunning Shasta daisies that will brighten your garden year after year.
1. Choose the Right Location
Shasta daisies love full sun, so pick a spot in your garden that gets at least six hours of sunlight daily. They will tolerate partial shade, but too much shade can lead to fewer blooms and leggy growth.
When planting, ensure the soil drains well, as Shasta daisies don’t like soggy roots. Consider raised beds or amending heavy soils with organic matter if drainage is an issue. Poor drainage can cause root rot and other diseases.
2. Water Wisely
Shasta daisies are fairly drought-tolerant once established, but young plants need consistent moisture to develop strong roots. Water deeply once or twice a week, especially during dry spells.
Be careful not to overwater, as overly damp soil can lead to fungal issues. Water early in the morning so the foliage dries out by evening, reducing the risk of mildew.
3. Deadhead for Continuous Blooms
Regularly deadheading Shasta daisies encourages continuous blooming throughout the season. Once the flowers start to fade, snip them off to direct energy back to the plant.
Cut the spent blooms just above a set of healthy leaves. This simple act stimulates new flower production and keeps your plants looking tidy.
4. Prune After Blooming
Once the flowering season is over, prune your Shasta daisies back to about one-third of their height. This will promote bushier growth next spring and help maintain their shape.
Avoid cutting back too early, as the plant uses its foliage to store energy for the following year. Wait until after the first frost for a final trim.
5. Divide Every Few Years
Shasta daisies can become crowded and bloom less profusely if not divided. Every two to three years, dig up clumps in early spring or fall and divide them into smaller sections.
Replant the divisions immediately in well-prepared soil, ensuring each clump has enough space to grow. This rejuvenates the plants and promotes more abundant blooms.
6. Mulch to Retain Moisture
Adding a layer of mulch around your Shasta daisies helps conserve moisture and keeps the roots cool. Organic mulch like shredded bark or compost is ideal as it also improves the soil as it decomposes.
Apply mulch in early spring, keeping it about 2-3 inches deep but away from the stems to avoid rot. This will also help suppress weeds, saving you time on garden maintenance.
7. Fertilize Lightly
Shasta daisies don’t require heavy feeding, but a light application of balanced fertilizer in spring can give them a boost. Use a slow-release fertilizer or incorporate compost into the soil.
Avoid over-fertilizing, as too much nitrogen can lead to lush foliage but fewer blooms. Organic options like compost tea or well-rotted manure are great for providing a steady nutrient supply.
8. Watch for Pests
Shasta daisies are generally resistant to pests, but aphids, slugs, and snails can occasionally be a problem. Check your plants regularly and remove pests by hand or use insecticidal soap if necessary.
To prevent slugs and snails, set traps or use diatomaceous earth around the base of the plants. Keeping the garden clean and free of debris can also reduce hiding spots for pests.
9. Protect in Winter
Although Shasta daisies are hardy perennials, they may need some protection in colder climates. Apply a layer of mulch in late fall to insulate the roots during winter freezes.
For extra cold protection, consider covering your plants with burlap or frost blankets if temperatures drop significantly. This helps prevent frost damage and ensures a strong start next spring.
10. Provide Support for Taller Varieties
Some Shasta daisy varieties can grow up to 3 feet tall and may need staking, especially in windy areas. Use stakes or a simple plant support ring to keep them upright.
Tie the stems loosely to the stakes with soft twine or plant ties to avoid damaging them. Providing support early in the season ensures they grow straight and strong, preventing any flopping later on.