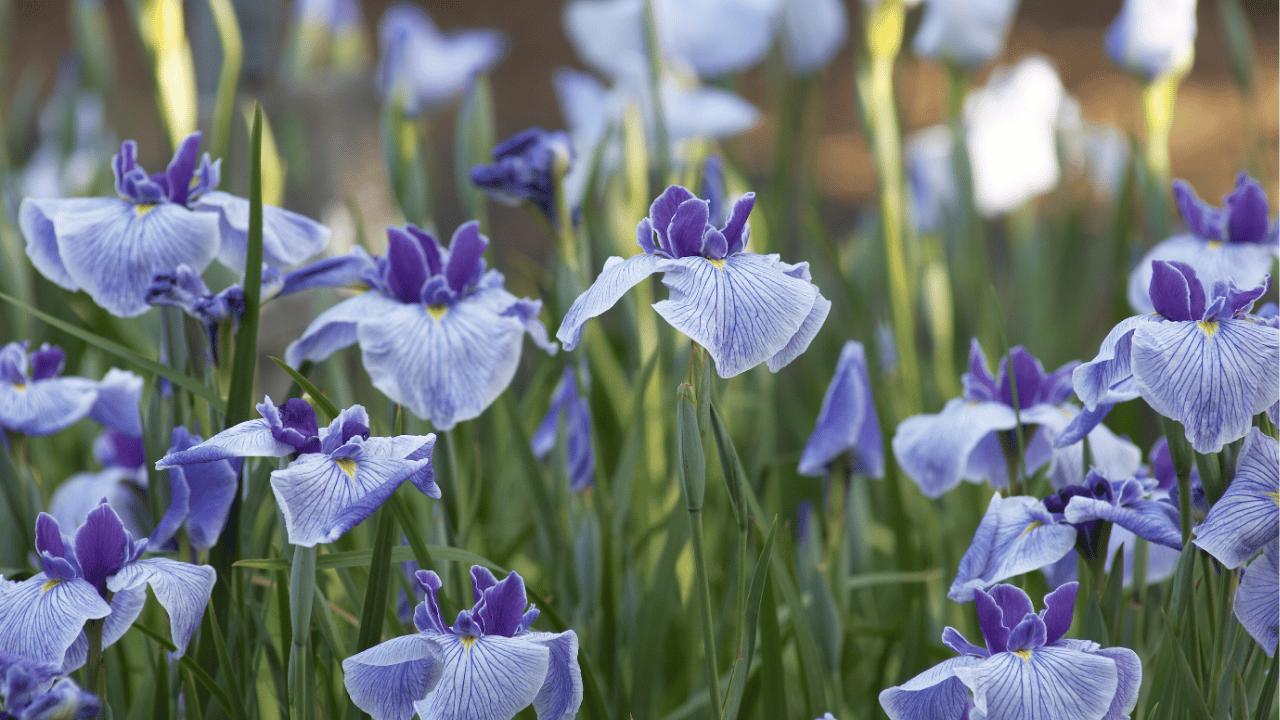
Irises are a stunning addition to any garden, offering bold colors and striking blooms. However, their beauty doesn’t end once they finish flowering. Proper post-bloom care ensures that these perennial plants remain healthy and vibrant, ready to dazzle again next season. Here are 10 essential tips to help your irises thrive after they bloom, maintaining their strength and longevity.
1. Deadhead Spent Blooms
After irises finish blooming, promptly remove the spent flowers. Deadheading prevents the plant from diverting energy into seed production, encouraging it to focus on root and rhizome development. Use sharp shears to cut the stem just above the base, leaving the foliage intact for photosynthesis.
Avoid tugging or pulling on the stems, as this can damage the plant. Regularly check for new blooms throughout the season and continue deadheading to keep your irises looking tidy and well-maintained.
2. Trim the Stalks
Once blooming is completely finished, cut back the flower stalks to just above the foliage. This not only improves the plant’s appearance but also allows more light to reach the leaves. Irises need their foliage to remain healthy, as it fuels next year’s blooms through photosynthesis.
However, be careful not to trim the leaves too early or too drastically, as they provide crucial energy. Leave them until late fall when they naturally begin to yellow and wither.
3. Avoid Overwatering
Irises are drought-tolerant plants, so overwatering can lead to root rot, especially after the blooming period. Once flowering is done, reduce the frequency of watering, especially if rainfall is consistent. Aim to water deeply but infrequently, allowing the soil to dry out between sessions.
In areas with high humidity, consider mulching lightly around the base to keep moisture levels in check without smothering the rhizomes. This promotes healthy air circulation and prevents fungal issues.
4. Remove Yellowing Leaves
As the growing season progresses, irises will naturally begin to shed older leaves. Remove any yellowing or dead foliage to prevent pests from harboring near the base of the plant. Cutting back damaged or diseased leaves also encourages air circulation, reducing the risk of fungal infections.
Use sterilized pruners to avoid spreading any potential diseases, and always dispose of the removed foliage far from your garden. Regular cleanup ensures your irises remain in optimal health as they prepare for dormancy.
5. Fertilize Sparingly
After blooming, irises benefit from light feeding to support their rhizomes. Choose a balanced, slow-release fertilizer or one with a higher phosphorus content to promote root health. Apply the fertilizer lightly around the base of the plant, being careful not to place it directly on the rhizomes to avoid burning.
Too much nitrogen can encourage leafy growth at the expense of next year’s blooms, so moderation is key. Water in the fertilizer to help it penetrate the soil and nourish the roots.
6. Prevent Crowding by Dividing
If your iris clumps are several years old and the blooms have diminished, it may be time to divide them. Crowded rhizomes compete for nutrients, leading to smaller flowers or no blooms at all. Every three to five years, lift the clumps and divide them in late summer or early fall.
After dividing, replant the healthiest rhizomes about 12-18 inches apart to give them ample space to grow. This will rejuvenate your irises and ensure vibrant flowering in the coming seasons.
7. Watch for Pests
Even after blooming, irises can be susceptible to pests such as iris borers and aphids. Regularly inspect your plants for signs of pest damage, such as chewed leaves or holes near the base. If you notice an infestation, treat it quickly with appropriate organic insecticides or horticultural oils.
Keeping the area around your irises clean and removing dead foliage will also help deter pests from settling in. A vigilant eye and prompt action can save your plants from severe damage.
8. Monitor for Diseases
Fungal diseases like leaf spot and bacterial soft rot are common issues in irises, particularly in damp conditions. After blooming, keep a close watch on the leaves and rhizomes for discoloration or mushy spots. Remove any affected areas immediately to prevent the spread of the disease.
If you experience recurring issues, improve air circulation around the plants and consider applying a fungicide as a preventive measure. Healthy irises are less likely to succumb to disease, especially when kept dry and well-ventilated.
9. Mulch with Care
Mulching can help conserve moisture and reduce weeds around your irises, but it should be done with caution. After the blooming period, apply a thin layer of organic mulch around the base, being sure not to cover the rhizomes directly. Irises thrive best when their rhizomes are exposed to air and sunlight.
Mulching too heavily or too close to the rhizomes can trap moisture, leading to rot. Instead, leave the top of the rhizome slightly exposed while providing mulch around the surrounding soil.
10. Prepare for Winter Dormancy
As fall approaches, irises will begin to enter dormancy. Trim the foliage down to about six inches once it starts to yellow, removing any debris to prevent rot over winter. In colder climates, consider adding a light mulch layer for insulation, but remove it early in spring to allow new growth to emerge.
By preparing your irises for dormancy, you’re ensuring they will survive the winter and emerge healthy and ready to bloom next season.

