
Okra, also known as lady’s finger or gumbo, is a warm-season vegetable that thrives in hot climates. While it’s commonly grown from seeds purchased from nurseries or seed catalogs, it’s entirely possible to grow okra from okra pods harvested from mature plants. This method not only ensures that you’re propagating from a plant adapted to your local conditions but also allows you to save money on seeds. Growing okra from okra pods involves a straightforward process. Here’s a comprehensive guide to help you through each step:
How To Grow Okra From Okra?
1. Selecting Healthy Okra Pods
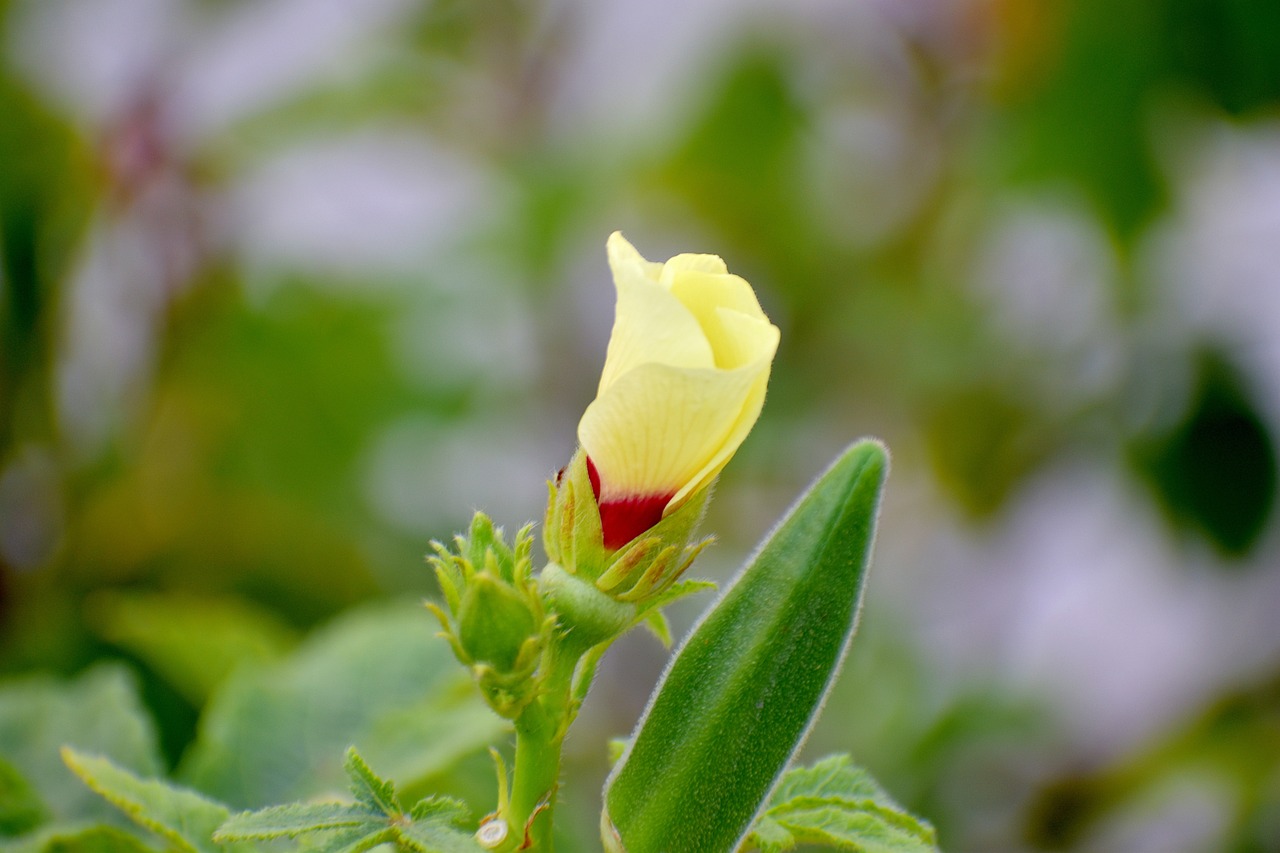
Choosing the right okra pods is the crucial first step in growing okra from okra. Look for mature pods that are fully grown, firm, and free from any signs of damage or disease. Pods should be plump and about 3-4 inches long. Avoid pods that are overly mature, as the seeds inside may be past their prime.
Once you’ve identified suitable pods, carefully harvest them from the plant using sharp scissors or pruning shears. It’s best to harvest pods in the morning when they’re at their freshest. Handle the pods gently to avoid damaging them, as this can affect seed viability. After harvesting, inspect the pods to ensure they’re free from any signs of pest damage or rot.
2. Extracting Okra Seeds
Extracting the seeds from the harvested okra pods is a straightforward process. Begin by laying the pods out on a clean, dry surface, such as a paper towel or tray. Allow the pods to air dry for several days in a warm, well-ventilated area. As the pods dry, they will naturally split open, revealing the seeds inside.
Once the pods have dried completely, carefully remove the seeds from the pods. You may need to gently pry the pods apart to access the seeds. Be sure to handle the seeds with care to avoid damaging them. As you extract the seeds, discard any pods that show signs of mold or decay. Transfer the extracted seeds to a clean, dry container for storage until you’re ready to plant them.
3. Preparing the Planting Site
Before planting your okra seeds, prepare the planting site to ensure optimal growing conditions. Okra thrives in full sun and well-drained soil, so choose a location in your garden that receives at least 6-8 hours of sunlight per day. Additionally, make sure the soil is loose, friable, and rich in organic matter.
Begin by clearing the planting area of any weeds or debris. Use a garden fork or shovel to loosen the soil to a depth of at least 8-12 inches. Incorporate a generous amount of compost or aged manure into the soil to improve its texture and fertility. Avoid planting okra in soil that is compacted or prone to waterlogging, as this can inhibit root growth and lead to poor yields.
4. Planting Okra Seeds
Once you’ve prepared the planting site, it’s time to sow your okra seeds. Plant the seeds directly into the soil at a depth of about 1 inch, spacing them 12-18 inches apart in rows or hills. Okra seeds are relatively large, so they’re easy to handle and sow individually.
After planting, gently pat the soil down to ensure good seed-to-soil contact. Water the newly planted seeds thoroughly to help settle the soil and initiate germination. Keep the soil consistently moist but not waterlogged during the germination period, which typically takes 7-14 days. Be patient, as okra seeds may take longer to germinate in cooler soil temperatures.
5. Providing Adequate Water and Nutrients
Water is essential for the healthy growth and development of okra plants, especially during the hot summer months. After germination, water your okra plants regularly to keep the soil evenly moist. Aim to provide about 1 inch of water per week, either through rainfall or supplemental irrigation.
In addition to water, okra plants also require a steady supply of nutrients to thrive. Before planting, amend the soil with organic matter, such as compost or aged manure, to provide essential nutrients and improve soil structure. You can also fertilize your okra plants throughout the growing season with a balanced fertilizer to promote healthy growth and abundant fruit production.
6. Mulching for Moisture Retention and Weed Suppression
Mulching is a simple yet effective way to conserve soil moisture, suppress weed growth, and regulate soil temperature around your okra plants. Apply a layer of organic mulch, such as straw, shredded leaves, or grass clippings, around the base of the plants, taking care not to pile the mulch up against the stems.
Mulch helps to prevent moisture loss from evaporation, reducing the need for frequent watering during dry spells. It also inhibits weed growth by smothering weed seeds and blocking out light. Additionally, mulch acts as a natural insulator, protecting the soil and plant roots from extreme temperature fluctuations.
7. Supporting Tall Okra Plants
Some varieties of okra can grow quite tall, reaching heights of 4-6 feet or more. To prevent tall okra plants from bending or breaking under their own weight, provide them with support structures such as stakes, trellises, or cages. Install the support structures early in the growing season, before the plants become too large and unwieldy.
When staking okra plants, drive the stakes into the ground near the base of each plant, taking care not to damage the roots. As the plants grow, gently tie them to the stakes using soft plant ties or twine. Alternatively, you can train okra plants to climb up trellises or cages, guiding their growth as needed to ensure they remain upright and well-supported.
8. Harvesting Okra Pods at the Right Time
Knowing when to harvest okra pods is key to ensuring optimal flavor and tenderness. Okra pods are ready to harvest when they reach a length of 2-4 inches and are still tender and easy to snap. Avoid waiting too long to harvest, as overripe pods can become tough and fibrous, detracting from their taste and texture.
To harvest okra pods, use a sharp pair of scissors or pruning shears to cut the pods from the plant, taking care not to damage the stems or neighboring foliage. Harvest pods regularly, every 2-3 days, to encourage continued fruit production throughout the growing season. As you harvest, inspect the pods for any signs of pest damage or disease, removing any affected pods promptly to prevent spread.
9. Saving Seeds for Future Planting
If you’re pleased with the performance of your okra plants and want to save seeds for future planting, it’s important to select and store seeds properly. Choose mature, healthy pods from vigorous, disease-free plants for seed saving. Allow the selected pods to fully mature and dry on the plant before harvesting.
To extract the seeds, open the dried pods carefully and remove the seeds, taking care to avoid damaging them. Spread the seeds out in a single layer on a clean, dry surface and allow them to air dry completely for several days. Once dry, transfer the seeds to an airtight container and store them in a cool, dry place until you’re ready to plant them the following season.
10. Rotating Crops to Prevent Disease and Pest Problems
To maintain the long-term health of your okra plants and prevent disease and pest problems, practice crop rotation in your garden. Avoid planting okra in the same location year after year, as this can lead to a buildup of soil-borne pathogens and pests that target okra plants.
Instead, rotate your okra crop with other unrelated vegetables, such as tomatoes, peppers, or legumes, on a three to four-year cycle. This helps to disrupt the life cycles of pests and pathogens, reducing the likelihood of infestations and diseases. Additionally, rotating crops can help maintain soil fertility and structure, promoting overall garden health and productivity.
By following these ten steps, you can successfully grow okra from okra pods and enjoy a bountiful harvest of this versatile and nutritious vegetable in your own garden. With proper care and attention, you’ll be rewarded with tender, flavorful okra pods throughout the growing season, whether enjoyed fresh, cooked, or preserved for later use.