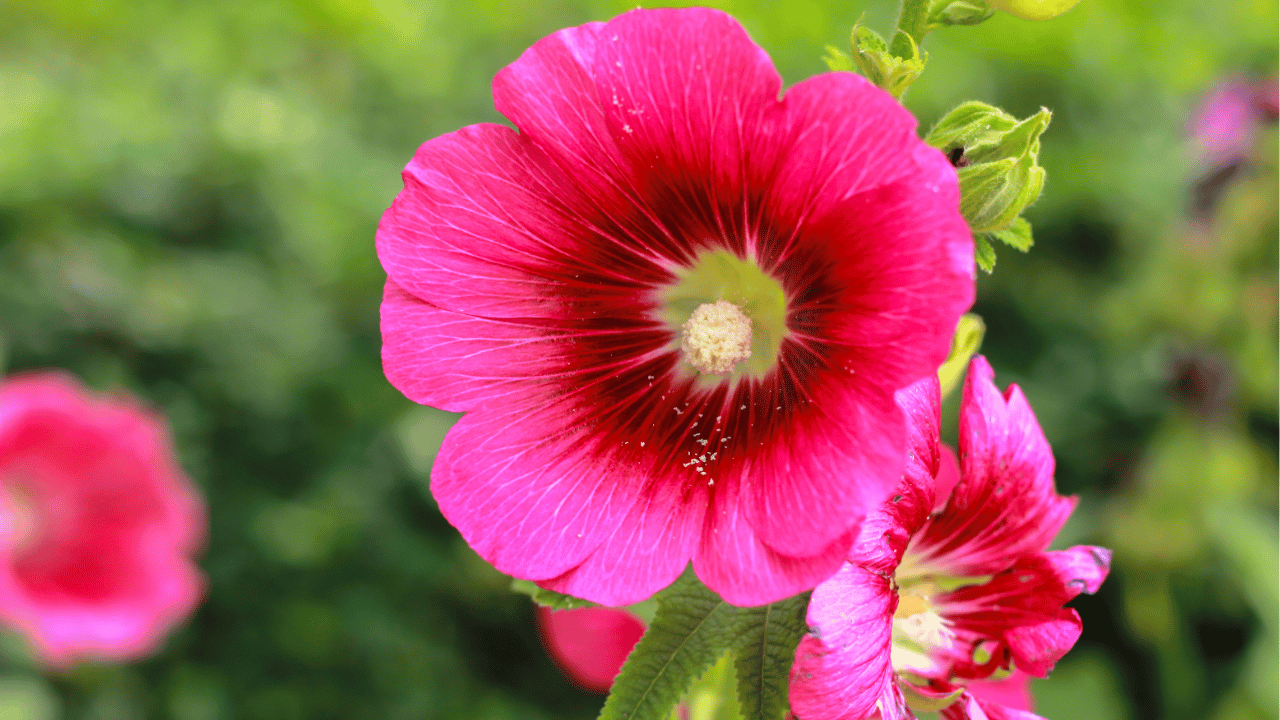
Hollyhocks are beloved for their towering spikes of colorful, delicate blooms, making them a favorite in cottage gardens. While they’re relatively hardy, ensuring they thrive year after year requires a little extra attention. Whether you’re aiming for robust blooms or healthier foliage, these specific care tips will help you grow vibrant, long-lasting hollyhocks.
1. Choose the Right Location
Hollyhocks need plenty of sunlight to flourish, so selecting a sunny spot is crucial. Ideally, choose a location that receives at least six hours of direct sunlight each day. Full sun promotes stronger growth and more abundant flowering.
However, hollyhocks also need some protection from strong winds. Since they can grow quite tall, their stems may snap under gusty conditions. Planting them against a wall or fence not only protects them but also gives their tall stalks a natural support structure.
2. Soil Preparation is Key
For hollyhocks to reach their full potential, well-draining soil is a must. They do best in loamy, fertile soil that holds moisture without becoming waterlogged. Before planting, amend your garden bed with organic matter, such as compost or well-rotted manure, to boost both drainage and nutrient content.
Compacted or poor soil can stunt growth and lead to weaker plants. If you’re dealing with heavy clay soil, mix in sand or perlite to improve texture and drainage. This ensures your hollyhocks won’t suffer from root rot or other water-related issues.
3. Water Regularly but Avoid Overwatering
Hollyhocks are drought-tolerant, but regular watering is necessary for optimal growth, especially in hot, dry climates. Aim to water them deeply once or twice a week rather than giving them light sprinkles. This encourages the roots to grow deep into the soil, making the plants more resilient.
However, be mindful of overwatering. Soggy soil can lead to fungal diseases like rust, which hollyhocks are prone to. Always check the soil moisture a few inches below the surface before watering, and ensure that the soil drains well between watering sessions.
4. Provide Proper Spacing
Hollyhocks need adequate airflow to prevent disease and give their roots room to spread. Space your plants about 18 to 24 inches apart, depending on the variety. Crowding them together increases the risk of fungal infections, as moisture becomes trapped between plants.
Spacing also allows each plant to access sunlight and nutrients without competition. Taller varieties, in particular, benefit from extra space to accommodate their towering stems and sprawling leaves.
5. Support the Tall Stems
As hollyhocks can grow up to eight feet tall, they often require support to prevent them from toppling over. Consider staking your plants early in the growing season. Use bamboo stakes or metal supports, tying the stems gently with garden twine.
Another option is to plant hollyhocks near sturdy structures like fences or trellises. These can serve as natural supports, allowing the plants to lean against them while growing upward. Early staking ensures that the plant remains upright and healthy even in strong winds.
6. Control Rust Disease
Hollyhocks are notoriously prone to rust, a fungal disease that causes orange or yellow spots on the leaves. To prevent this, ensure your plants are properly spaced to allow air to circulate. Additionally, avoid wetting the foliage when watering, as moisture on the leaves encourages rust to spread.
If rust does appear, remove and destroy affected leaves to stop the disease from spreading further. You can also apply a fungicide, but start early in the season for the best results. Keeping the area around the plants free from debris also helps minimize the risk of infection.
7. Deadhead Spent Blooms
Deadheading encourages hollyhocks to produce more flowers and prevents them from using energy on seed production. As blooms fade, snip them off with sharp, clean scissors or pruning shears. Regular deadheading can extend the flowering period by several weeks.
Be sure to cut the spent flowers back to just above a leaf node, as this is where new growth will emerge. If you wish to save seeds, leave a few flowers at the top to mature, but otherwise, keeping up with deadheading will lead to a more vibrant display.
8. Fertilize During the Growing Season
To encourage vigorous growth and profuse blooming, hollyhocks benefit from occasional feeding. Apply a balanced fertilizer, such as a 10-10-10 blend, during the growing season. Fertilize every four to six weeks, but avoid over-fertilizing, as this can lead to excessive leaf growth at the expense of flowers.
Opt for slow-release fertilizers or compost to provide a steady nutrient supply over time. Be sure to water the fertilizer in well to prevent burning the roots, and always follow the package instructions for dosage.
9. Mulch to Retain Moisture and Suppress Weeds
Mulching is a simple yet effective way to help your hollyhocks thrive. Apply a 2- to 3-inch layer of organic mulch, such as shredded bark or straw, around the base of the plants. This helps retain soil moisture, keeping the roots cool and hydrated, while also suppressing weeds.
Mulching also improves soil health over time as the organic matter breaks down. Keep the mulch a few inches away from the stems to prevent rot, but cover enough ground to maintain a moisture-rich environment.
10. Plan for Winter Protection
Hollyhocks are generally hardy, but if you live in a colder climate, it’s wise to give them a little extra protection in winter. After the first frost, cut the plants back to about 6 inches above the ground. Then, apply a thick layer of mulch over the root zone to insulate them against freezing temperatures.
In particularly harsh winters, consider covering the plants with burlap or a frost blanket for added protection. By taking these steps, you’ll ensure your hollyhocks return stronger the next growing season.

