
Okra, also known as lady’s finger, is a warm-season vegetable that is not only easy to grow but also offers a bountiful harvest throughout the summer months. Growing okra from seed is a rewarding experience for gardeners of all skill levels. With the right conditions and care, you can enjoy a steady supply of tender, flavorful okra pods straight from your garden.
Growing Okra from Seed 10 Tips
1. Selecting Seeds
Choosing the right okra seeds is the first step towards a successful harvest. Opt for high-quality seeds from a reputable supplier or garden center. Consider factors such as your local climate and available space when selecting the variety of okra to grow. Whether you prefer traditional green okra or want to experiment with unique varieties, there are plenty of options to suit your preferences.
2. Preparing the Soil
Okra thrives in well-drained soil that is rich in organic matter. Prepare the planting area by loosening the soil to a depth of about 8-10 inches and removing any weeds or debris. Amend the soil with compost or aged manure to improve fertility and provide essential nutrients for healthy growth. Avoid compacted or waterlogged soil, as this can inhibit root development and lead to poor growth.
3. Planting Seeds
Okra seeds can be directly sown into the garden once the soil has warmed up to at least 65°F (18°C). Plant the seeds about 1 inch deep and space them 12-18 inches apart in rows spaced 3 feet apart. Ensure that the planting depth is consistent to promote even germination. Consider planting multiple rows of okra to maximize your harvest potential.
4. Watering Needs
Proper watering is essential for the successful germination and growth of okra seeds. Keep the soil consistently moist but not waterlogged, especially during the germination period. Once the seedlings have emerged, water deeply and infrequently to encourage deep root development. Avoid overhead watering, as this can increase the risk of fungal diseases. Mulching around the base of the plants can help retain moisture and suppress weeds, reducing the need for frequent watering.
5. Providing Adequate Sunlight
Okra plants thrive in full sunlight, so it’s important to choose a sunny location for your garden bed. Aim for at least 6-8 hours of direct sunlight per day to promote healthy growth and abundant fruit production. In areas with hot summers, providing some afternoon shade can help prevent stress and sunburn on the plants. Be mindful of nearby trees or structures that may cast shade on your okra plants and adjust your planting location accordingly.
6. Thin Seedlings (if Necessary)
If multiple seedlings emerge from each planting spot, thin them out to leave the strongest plant in each location. Crowded seedlings can compete for nutrients and space, resulting in stunted growth and decreased productivity. Use scissors or garden shears to snip off the weaker seedlings at soil level, being careful not to disturb the roots of the remaining plants. Thinning should be done when the seedlings are a few inches tall to give them ample room to grow.
7. Fertilizing Requirements
Okra plants are heavy feeders and benefit from regular fertilization throughout the growing season. Prior to planting, incorporate a balanced fertilizer into the soil to provide essential nutrients for healthy growth. Once the plants are established, side-dress with compost or a nitrogen-rich fertilizer every 4-6 weeks to promote vigorous growth and abundant fruiting. Avoid over-fertilizing, as this can lead to excessive foliage growth at the expense of fruit production.
8. Providing Support (if Needed)
While okra plants are generally self-supporting, tall varieties or those grown in windy locations may benefit from additional support. Install stakes or small trellises near the plants to provide stability and prevent them from toppling over. Secure the plants to the support structure using soft ties or garden twine, being careful not to damage the stems or foliage. Check the supports regularly throughout the growing season and make any necessary adjustments to ensure the plants remain upright.
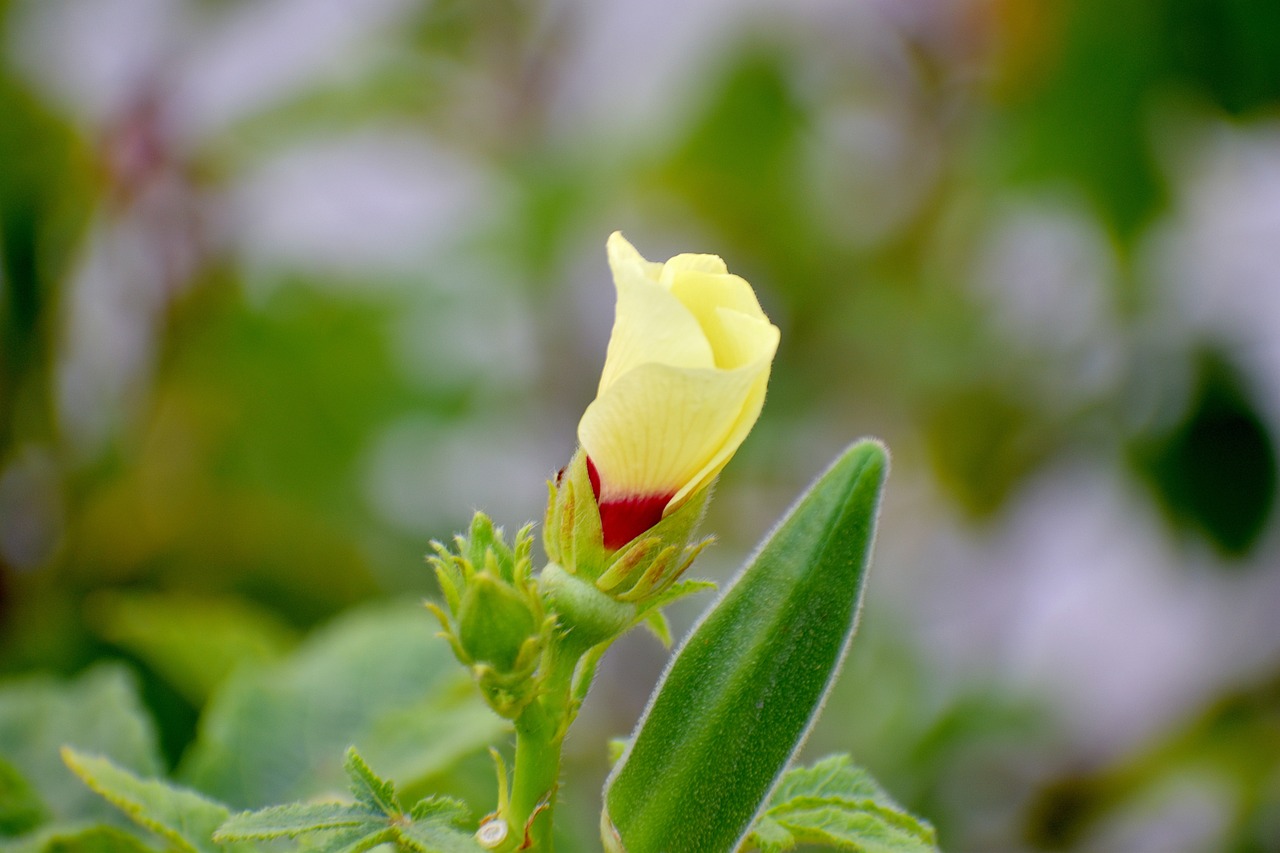
9. Harvesting Okra Pods
Okra pods are ready to harvest when they are about 2-4 inches long and still tender. Check the plants every 2-3 days once they start producing pods, as they can quickly become overripe and tough if left on the plant too long. Use a sharp knife or scissors to cut the pods from the plant, taking care not to damage the stems or surrounding foliage. Harvesting okra regularly encourages the plants to continue producing new pods, prolonging the harvest period.
10. Pest and Disease Management
While okra is relatively pest and disease-resistant, it’s still important to monitor your plants regularly for signs of trouble. Common pests that may affect okra include aphids, flea beetles, and caterpillars. Handpick larger pests and use insecticidal soap or neem oil to control smaller infestations. Practice crop rotation and proper sanitation to prevent the buildup of soil-borne diseases such as root rot and wilt. Remove any infected plants promptly to prevent the spread of disease to healthy plants.
In conclusion, growing okra from seed is a straightforward process that can yield a bountiful harvest of delicious and nutritious pods. By following these steps and providing the proper care, you can enjoy a successful okra growing season and savor the taste of homegrown produce straight from your garden. With a little patience and attention to detail, you’ll be rewarded with a plentiful supply of tender okra pods to enjoy in your favorite recipes all summer long.