
Chives are hardy, flavorful perennials that every gardener should consider growing. Not only do they add vibrant green color to your garden, but their mild onion-like taste enhances many dishes. Caring for chives is relatively easy, but there are a few important steps to ensure they flourish. Follow these 10 tips to keep your chives healthy, productive, and beautiful all season long.
1. Choose the Right Location
Chives thrive in full sunlight, so make sure they’re planted in a spot that gets at least six hours of sun daily. Though they tolerate partial shade, abundant light helps them grow lush and strong. If you’re growing them in containers, place them in a bright spot on your patio or windowsill.
Additionally, ensure the soil in your garden bed or pot drains well. Chives dislike overly soggy conditions, and excess moisture can lead to root rot. A slightly sandy, well-draining soil will keep your chives happy.
2. Water Moderately
Chives are fairly drought-tolerant, but regular watering is essential to encourage steady growth. Water deeply once or twice a week, depending on your climate and soil, ensuring the soil stays consistently moist but not waterlogged. Mulching around the plants can help retain moisture during dry periods.
When watering, try to avoid wetting the leaves directly, as excessive moisture on the foliage can encourage disease. Water at the base of the plant to keep the leaves dry and healthy.
3. Fertilize Sparingly
Chives don’t require heavy feeding, but a light application of fertilizer once or twice during the growing season can boost their growth. Choose an organic, balanced fertilizer to promote both leaf and root development. Over-fertilizing can lead to excessive leaf growth with less flavor, so be cautious.
Compost is another excellent way to feed chives, providing them with steady nutrients without overwhelming the plant. Simply mix some compost into the soil at the start of the growing season for long-lasting benefits.
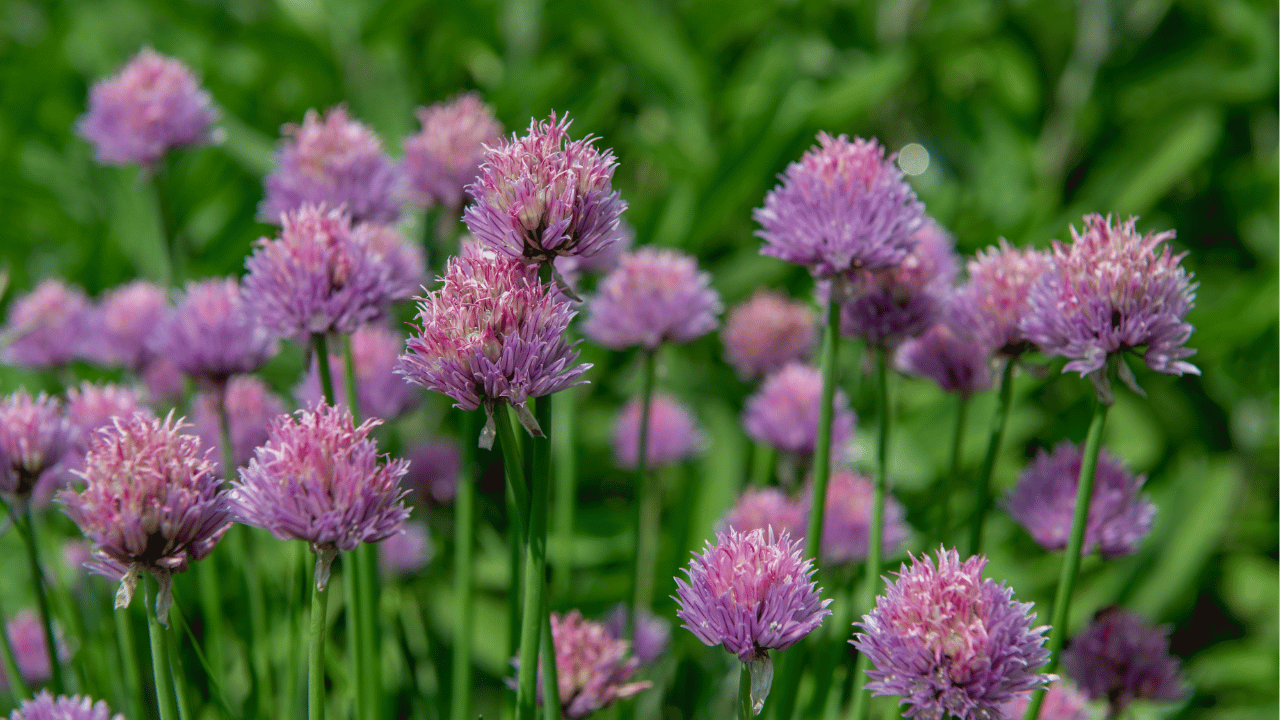
4. Deadhead Flowers Regularly
Chive flowers are not only beautiful but also edible. However, allowing them to go to seed can reduce the plant’s vigor. Deadhead the flowers as soon as they fade to encourage more leaf production. This will direct the plant’s energy into growing fresh, flavorful shoots rather than seed production.
To deadhead, simply snip the flower stems at their base, being careful not to cut any of the green leaves. This practice can extend the harvest period and keep your plants productive longer.
5. Divide Every 2-3 Years
Chive plants can become overcrowded over time, which can stunt their growth. To keep them healthy, divide the clumps every two to three years. Dividing not only prevents overcrowding but also rejuvenates the plants, giving them a fresh start with more space to grow.
When dividing, dig up the entire clump and gently separate it into smaller sections, each with roots attached. Replant them in well-prepared soil, making sure to water them thoroughly after transplanting.
6. Protect from Pests
Though chives are relatively pest-resistant, aphids and other small insects can occasionally attack the plants. To ward off pests, inspect your chives regularly, especially during the warmer months. Removing any affected leaves early can prevent the spread of infestations.
Consider using natural deterrents such as neem oil or insecticidal soap. Also, planting companion plants like garlic or onions nearby can naturally repel pests due to their strong scent.
7. Harvest Properly
When harvesting chives, always use sharp scissors to cut the leaves about two inches above the soil line. Harvesting in this manner allows the plant to recover quickly and produce more leaves. Never pull or tear the leaves, as this can damage the plant and slow its growth.
It’s best to harvest chives early in the morning when their flavor is most intense. Regular harvesting encourages bushier growth, so don’t hesitate to snip frequently.
8. Use Mulch to Retain Moisture
Mulching is beneficial for chives as it helps retain soil moisture, especially during hot summer months. Apply a layer of organic mulch, such as straw or shredded leaves, around the base of your chive plants. This helps keep the soil cool, reduces the need for frequent watering, and suppresses weed growth.
Be careful not to mulch too close to the stems, as excess moisture buildup around the base can lead to rot. Leave a small gap around the plant to allow for proper air circulation.
9. Prepare for Winter
Chives are cold-hardy, but they still benefit from a little extra protection during harsh winters. In colder climates, consider adding a layer of mulch or straw around the plants before the first frost. This helps insulate the roots and protect them from freezing temperatures.
Alternatively, you can dig up a clump of chives and pot them to grow indoors during winter. They will continue producing fresh leaves, allowing you to enjoy their flavor year-round.
10. Watch for Disease
While chives are typically resilient, fungal diseases like rust or mildew can occasionally affect them, particularly in humid conditions. Ensure good air circulation around your plants by not overcrowding them. Water early in the day so the leaves dry out before nightfall, reducing the chances of fungal growth.
If you notice any diseased leaves, remove them promptly to prevent the spread of the disease. Organic fungicides can also help control outbreaks if used early.