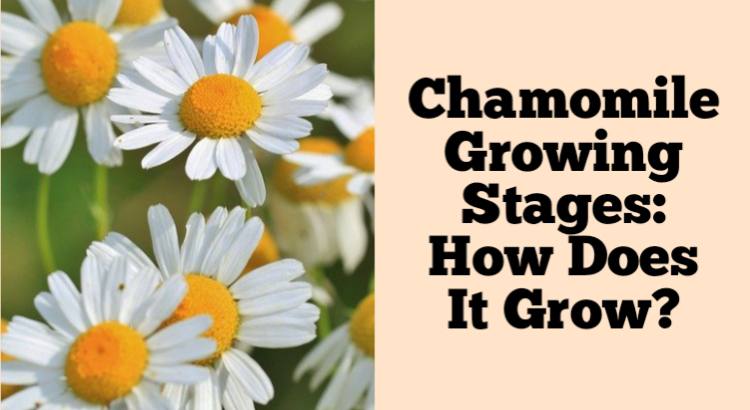
Chamomile Growing Stages. Chamomile is a beautiful flower that’s often used in teas. It has a sweet, citrusy aroma and can be used for a variety of purposes.
Chamomile is also easy to grow from seed, making it an ideal plant for beginners who want to try their hand at gardening. But how does chamomile grow?
Chamomile Growing Stages
Stage 1. Seed Germination
Once you’ve chosen the best variety of chamomile to grow, it’s time to start planting.
Before you do this, however, you need to germinate your seeds.
Germination is a very important step in the chamomile growing process because it can determine whether or not your plants will thrive and produce blooms.
To improve your chances of successful seed germination:
Use a seed tray or a seedling pot with drain holes so that excess water can drain away from your seeds.
You want to keep the soil moist but not too moist; if there is too much water on top of the soil, it could prevent any light from entering into the soil and reaching your seeds.
If there isn’t enough moisture in their environment—or if they’re exposed to too much sunlight—they’ll likely dry out before they’re able to sprout.
It’s a good idea for most people who live up north (with colder winters) just stick with paper towels rather than plastic trays when starting off.
Stage 2. Seedling Stage
Planting: Plant your seeds in the spring, when the soil temperature is at least 65 degrees. Soil should be well-drained and loose with a pH of 6.0 to 7.0 (slightly acidic). Plant seedlings 1/2 – 1 inch deep; water regularly until they are established.
Weed Control: Control weeds regularly throughout the season so that competing plants do not shade out your chamomile plants.
Fertilizer: You don’t need to fertilize chamomile at all, just give it plenty of water. With just enough sunlight and water the chamomile will grow just fine.
Stage 3. Flowering
Chamomile flowers are the stage at which you’ll see these plants bloom.
They can be white and small, or larger and pink. The flowers bloom in clusters and bloom between April and June in the Northern Hemisphere.
They’re edible as well as useful for making tea, so don’t toss them out after picking them. When you harvest chamomile, it should be dry enough to store; if it’s still wet from rain or dew then it’ll mold quickly once indoors.
Stage 4. Harvesting & Drying
Chamomile flowers are ready to harvest when they are fully open, usually around the middle of summer (July/August). They should be harvested before the heat of summer dries them out.
Flowers can be dried in a food dehydrator or by hanging upside down on a string or wire. Store dried chamomile in airtight containers.
Chamomile can be planted from seed for a long-lasting harvest.
Chamomile is a perennial herb that, with the proper care, will produce flowers for your enjoyment for years to come.
The best way to grow chamomile is from seed. Chamomile does not transplant well, especially for old seedlings or plants, so it’s best to sow in its permanent location.
The best time to plant seeds is in early spring or late summer/fall. The plant should be planted in full sun and well-draining soil with a pH of 6-6.5
Conclusion: Chamomile Growing Stages
Chamomile is a beautiful, delicate flower that can be used in teas or culinary dishes. It’s also a great addition to the garden, especially if you want an herbal or medicinal plant in your yard.
As we’ve discussed, chamomile is easy to grow from seed and has many uses throughout its life cycle. You can harvest the leaves when they’re young for use as fresh greens or make tea out of them at any time during their growth cycle.

