
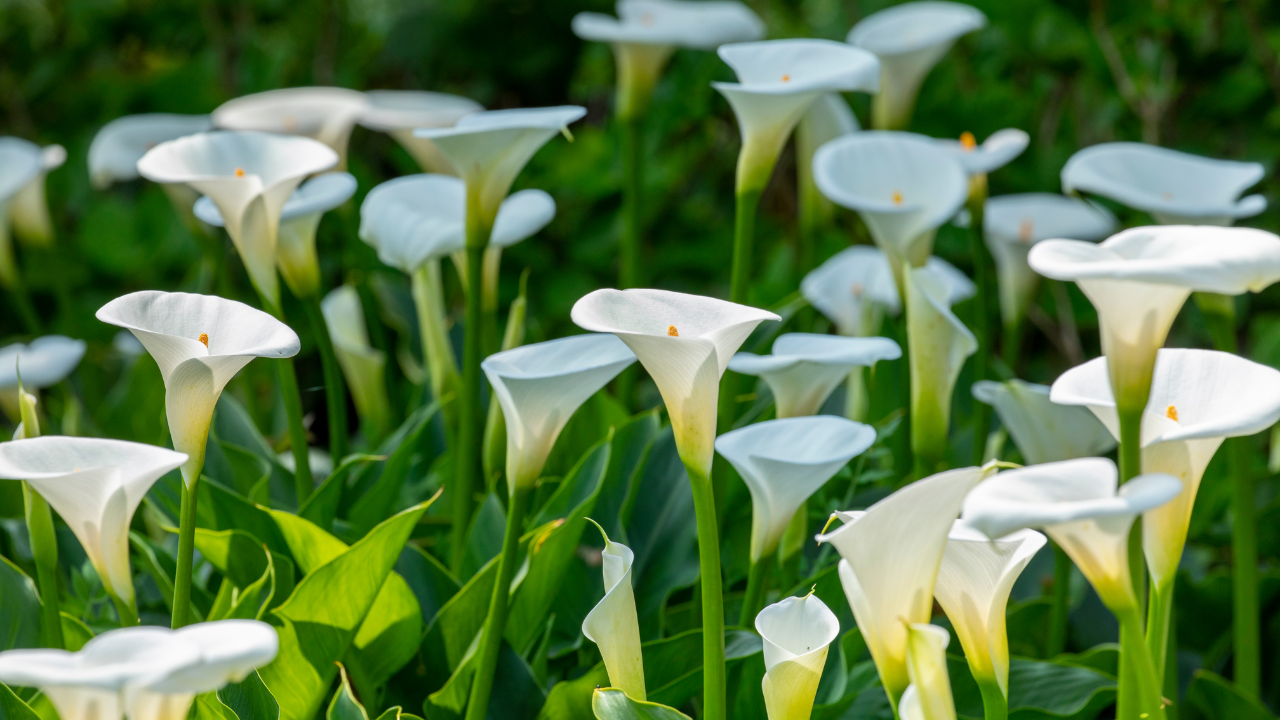
Calla lilies, with their sleek, elegant blooms and lush green leaves, are a stunning addition to any garden. These graceful perennials thrive with the right care, offering vibrant flowers year after year. However, to ensure they flourish, it’s essential to give them the attention they need. With the right techniques, you can maintain a healthy, long-lasting display of these captivating plants.
1. Choose the Right Soil
Calla lilies thrive in well-draining, slightly acidic soil. A mix that retains moisture but doesn’t become waterlogged is ideal. Aim for a soil pH between 6.0 and 6.5 to ensure optimal nutrient uptake. Using loamy soil with organic matter like compost or peat moss will help the plant’s roots develop properly.
If the soil holds too much water, your calla lilies risk developing root rot. Therefore, it’s crucial to improve drainage by adding perlite or coarse sand. Also, ensure that the garden bed or pot has proper drainage holes to prevent standing water.
2. Provide Ample Sunlight
Calla lilies require plenty of sunlight, but they can be sensitive to too much direct, harsh light. In cooler climates, full sun encourages healthy growth and vibrant blooms. However, in hotter regions, consider placing them in partial shade to prevent scorching and wilting.
Monitor your lilies’ leaves for signs of sunburn or legginess. If the leaves look dull or thin, it might be time to adjust their location. Striking the perfect balance between sun and shade ensures vigorous growth and abundant flowering.
3. Watering Consistently, But Not Excessively
Calla lilies prefer consistently moist soil, but overwatering can lead to root rot. Water deeply once or twice a week, depending on weather conditions, ensuring the soil dries slightly between waterings. In hotter months, more frequent watering may be necessary.
Use a mulch layer around the base of the plants to help retain moisture. However, avoid watering the leaves directly, as excess moisture on foliage can promote fungal diseases, especially in humid conditions.
4. Fertilize Regularly for Better Blooms
For vigorous growth and large, striking blooms, fertilize your calla lilies regularly. Use a balanced, slow-release fertilizer with equal parts nitrogen, phosphorus, and potassium during the growing season, particularly when shoots first emerge.
Be cautious not to over-fertilize, as too much nitrogen can lead to lush leaves but fewer flowers. Instead, apply fertilizer sparingly every four to six weeks and water afterward to prevent root burn.
5. Monitor for Pests and Diseases
Calla lilies are prone to pests like aphids, spider mites, and slugs. Regularly inspect your plants for signs of infestation, such as discolored or curling leaves. Use insecticidal soap or neem oil to treat pests organically.
Diseases like powdery mildew and root rot are also common. Ensure good air circulation around your plants by spacing them adequately and removing any dead foliage. This helps reduce the risk of fungal infections that can damage both the foliage and roots.
6. Deadhead Spent Blooms
Regular deadheading of spent blooms encourages the plant to direct energy toward producing new flowers. Gently cut the flower stalks close to the base of the plant once the blooms begin to fade, but avoid damaging nearby foliage.
By removing old flowers, you promote continuous blooming throughout the growing season, keeping your calla lilies vibrant and visually appealing. This simple task keeps your plants tidy while fostering healthy growth.
7. Adjust Watering in Dormancy
After their blooming season, calla lilies enter a period of dormancy where their foliage dies back. During this time, reduce watering significantly, allowing the soil to dry out between waterings. The plant’s energy is focused on storing nutrients for the next growth cycle.
If grown outdoors, you can stop watering altogether once the leaves have fully died back. However, for potted calla lilies indoors, water sparingly to prevent the soil from becoming bone dry while they rest.
8. Proper Overwintering Techniques
In colder climates, calla lilies cannot survive freezing temperatures outdoors. To protect them, dig up the rhizomes after the foliage has died back. Shake off any excess soil, and allow the rhizomes to dry for a few days before storing them in a cool, dry place.
Store the rhizomes in peat moss or sawdust, checking them periodically for mold or rot. If you live in a milder climate, you can leave the rhizomes in the ground but apply a thick layer of mulch to insulate them during the winter.
9. Repotting or Dividing Every Few Years
Calla lilies benefit from being repotted or divided every two to three years. This prevents overcrowding and encourages fresh, vigorous growth. When dividing, separate the rhizomes, ensuring each section has at least one growing eye.
Repot the divisions in fresh soil, ensuring the rhizomes are buried about 2-3 inches deep. Repotting helps refresh the soil’s nutrients and prevents root-bound plants, which can hinder both foliage and bloom production.
10. Use Companion Plants for Aesthetic and Health Benefits
Calla lilies pair beautifully with other moisture-loving plants like astilbes, hostas, and ferns. These companions not only enhance the visual appeal of your garden but also help create a more balanced ecosystem. By planting them alongside beneficial plants, you encourage natural pest control and improved soil health.
Consider plants that complement the lilies’ graceful form and blooming time, ensuring your garden remains vibrant throughout the season. Be mindful of spacing, as overcrowding can limit airflow and increase the risk of disease.